Thursday I spent several hours at the hangar, removing the right fuel tank. I had noted a significant amount of blue fuel dye stain on the lower wing surface, running aft from the inboard end of the fuel tank. This had first been noted some time ago, but it stopped, so I ignored the issue, hoping that the problem had definitively fixed itself. But, it started up again recently, much worse than before. So, it was time to do something about it. I’d rather have the aircraft out of service in the winter than the summer - I decided that now is the time to do this repair.
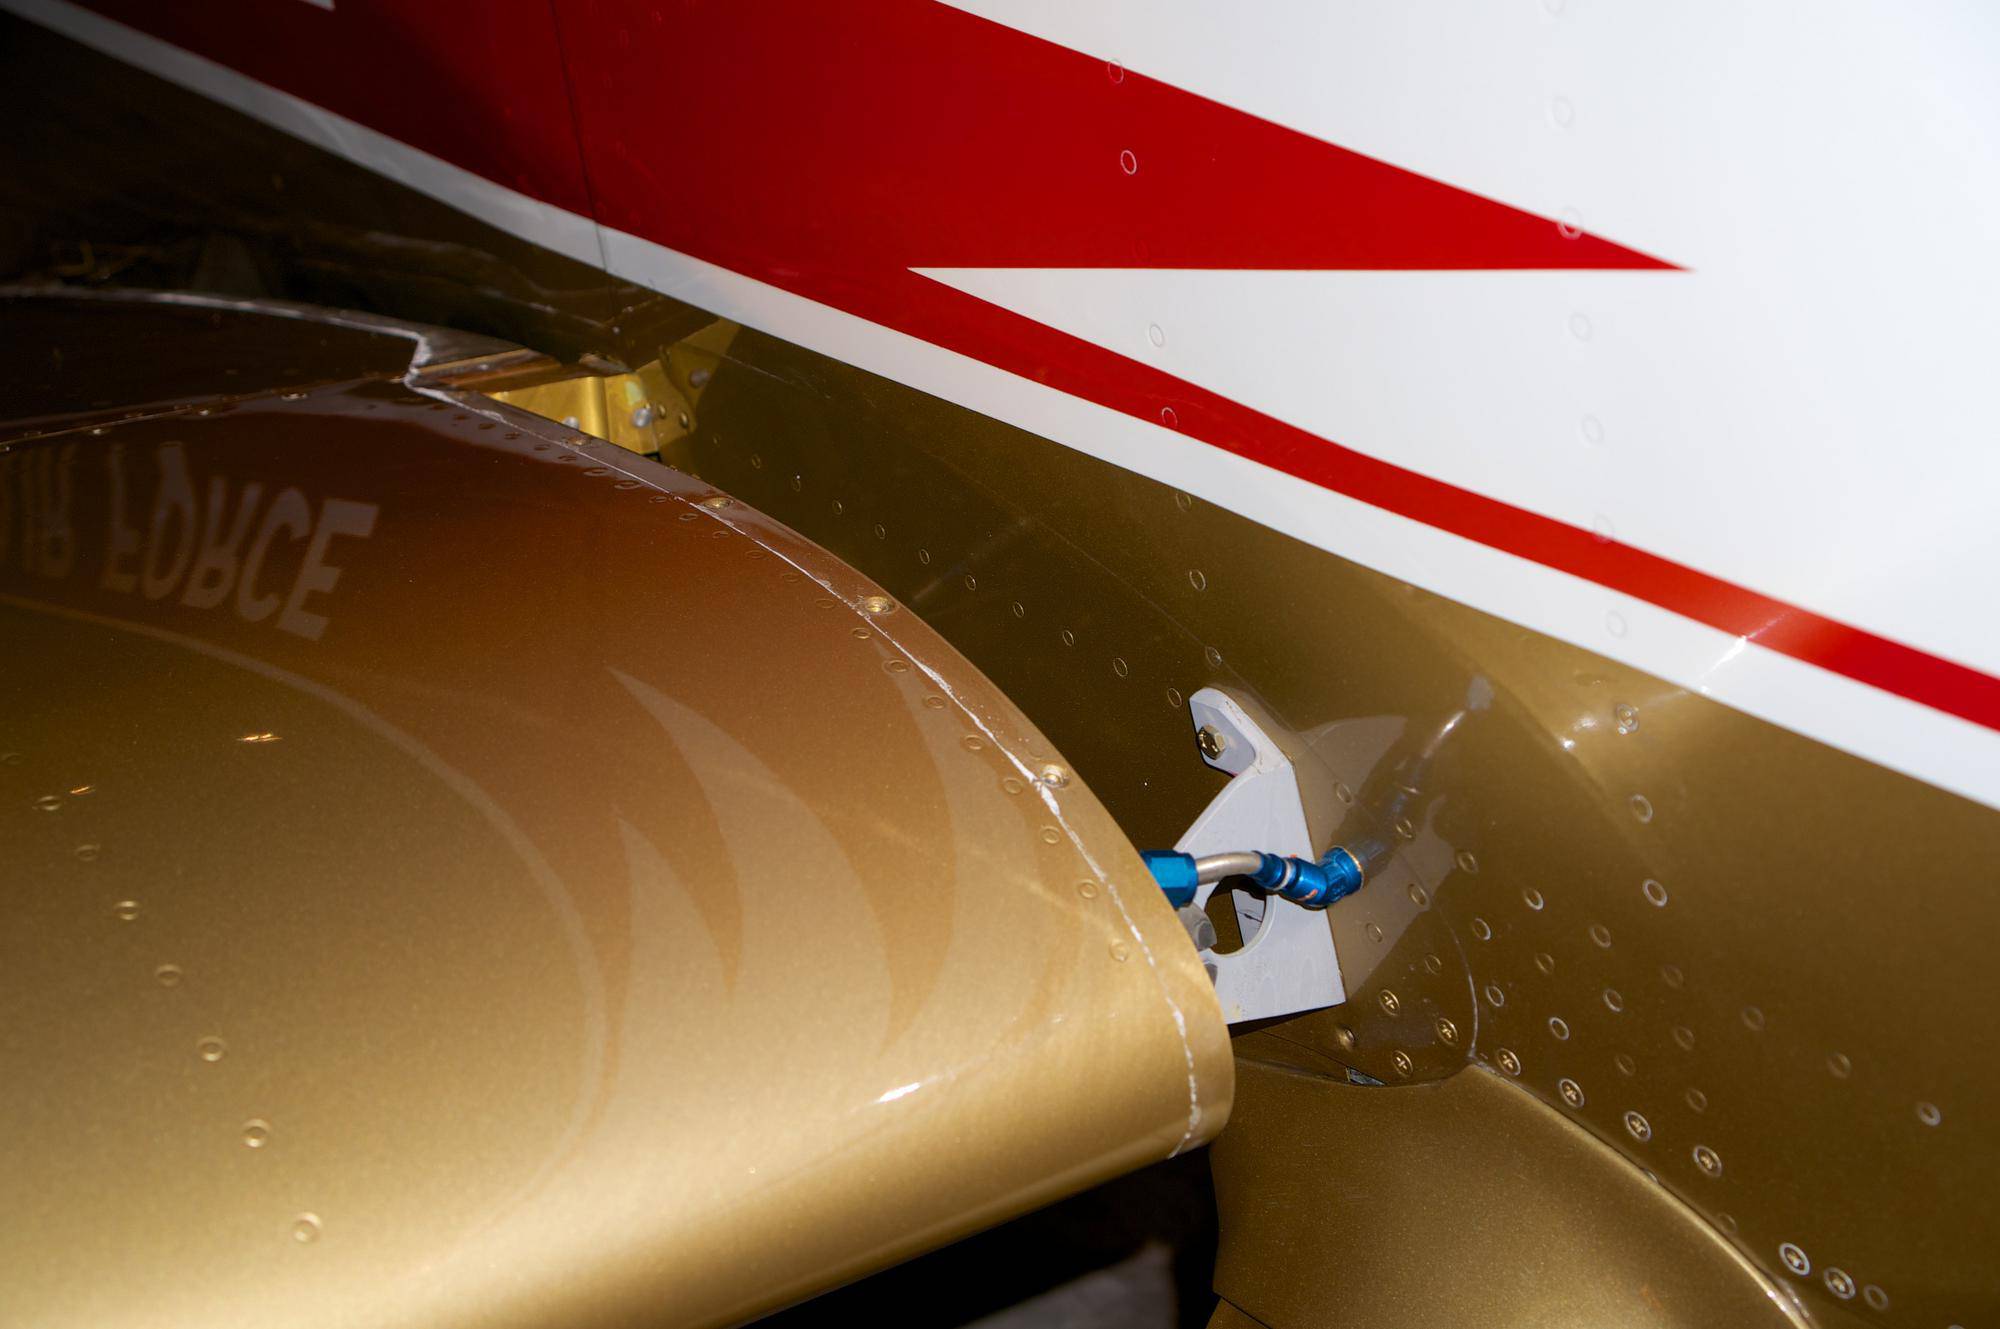
 This view is from below the aircraft, looking at the inboard end of the right fuel tank. You can see the blue stain from the fuel leak.
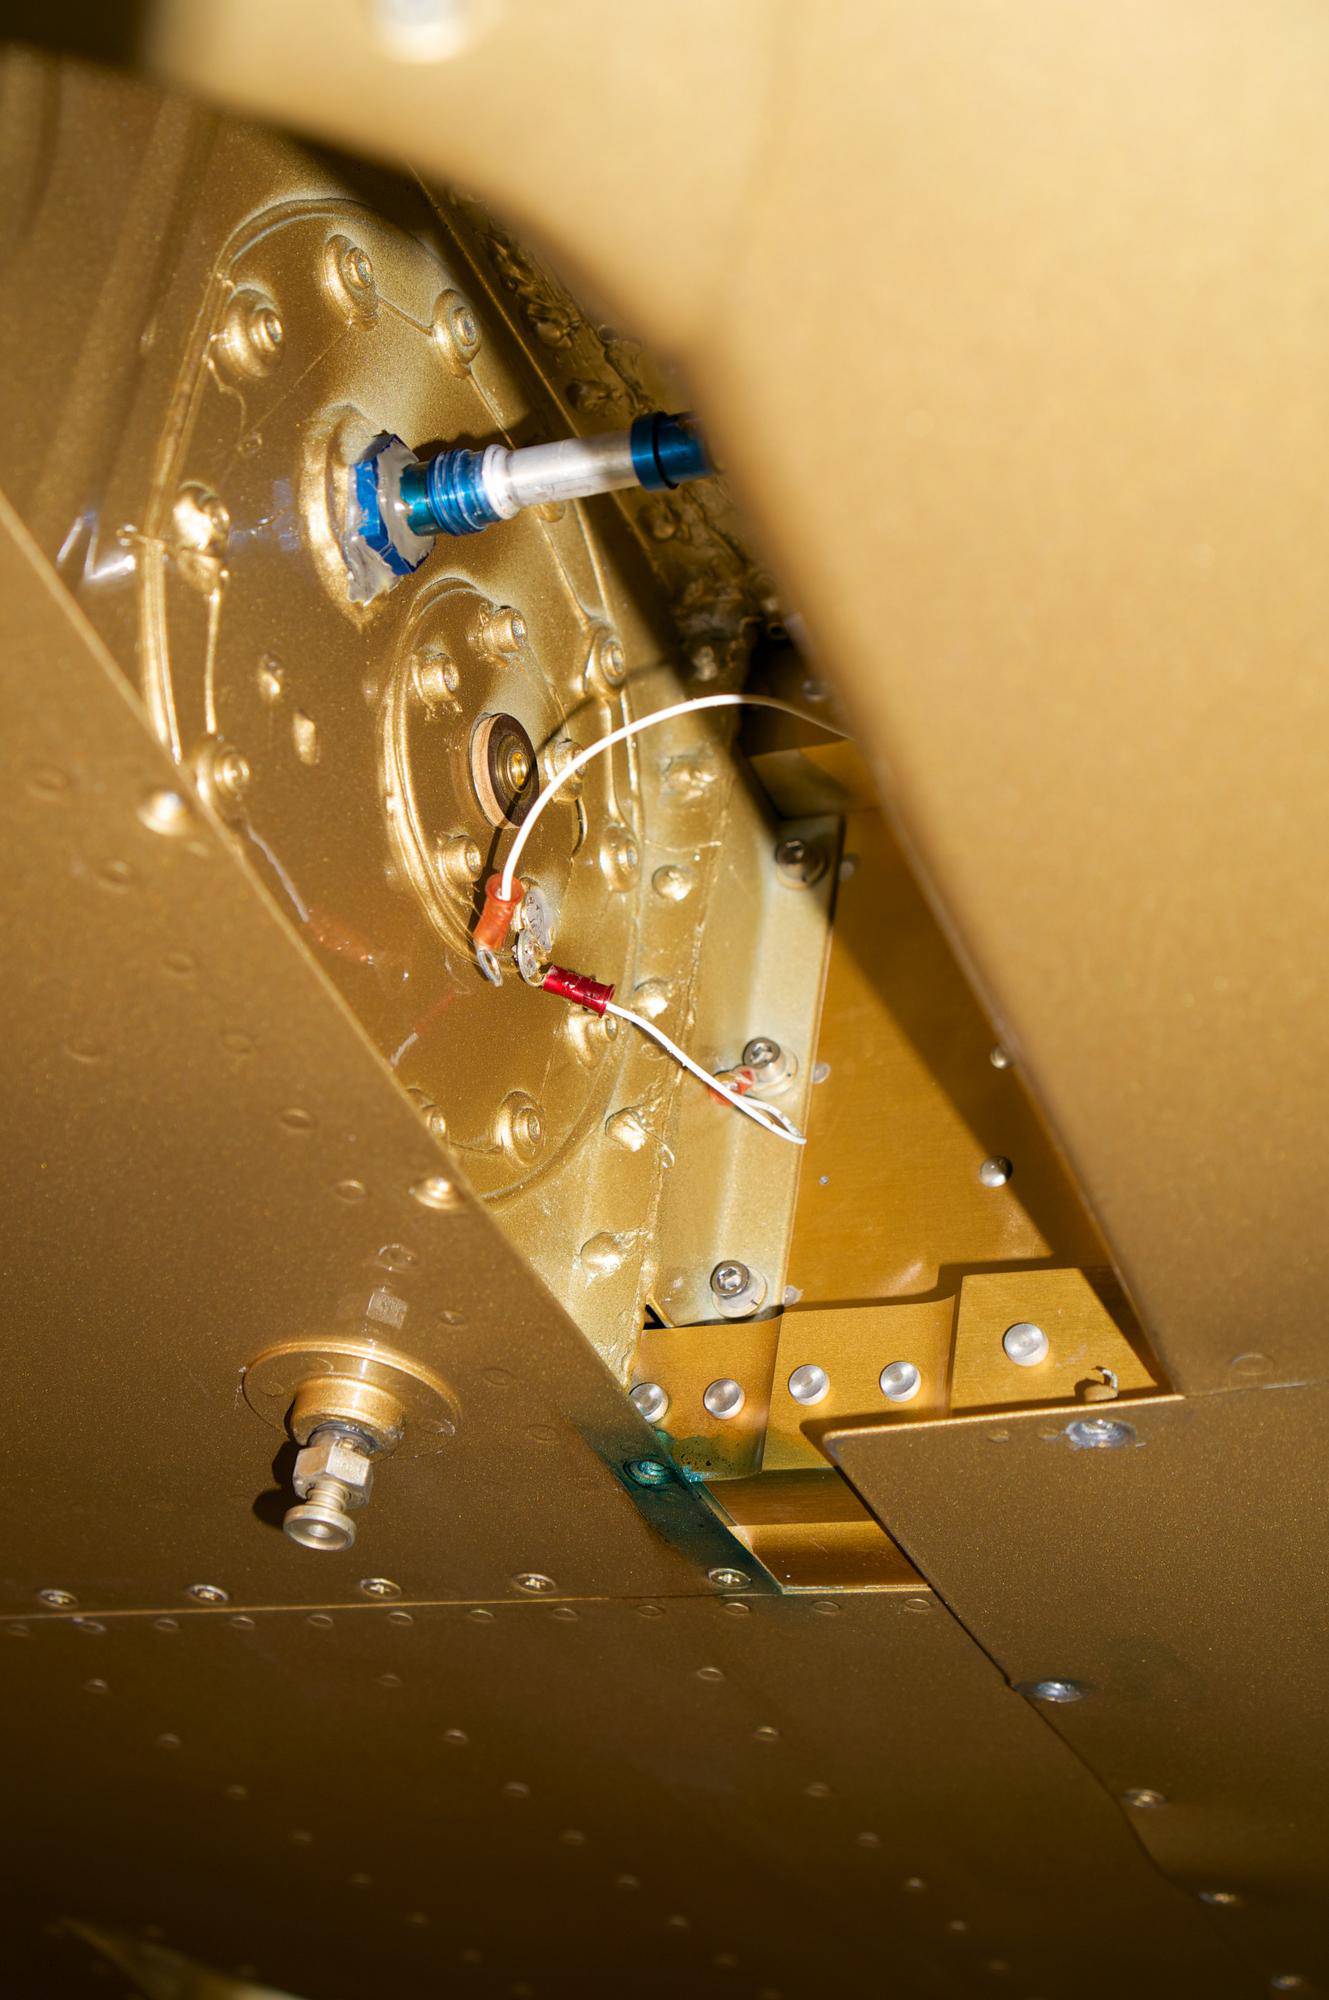
 It took about three hours to get the tank off. Step one was removing the wing root intersection fairing, and disconnecting fuel line, fuel vent line and fuel sender wire.
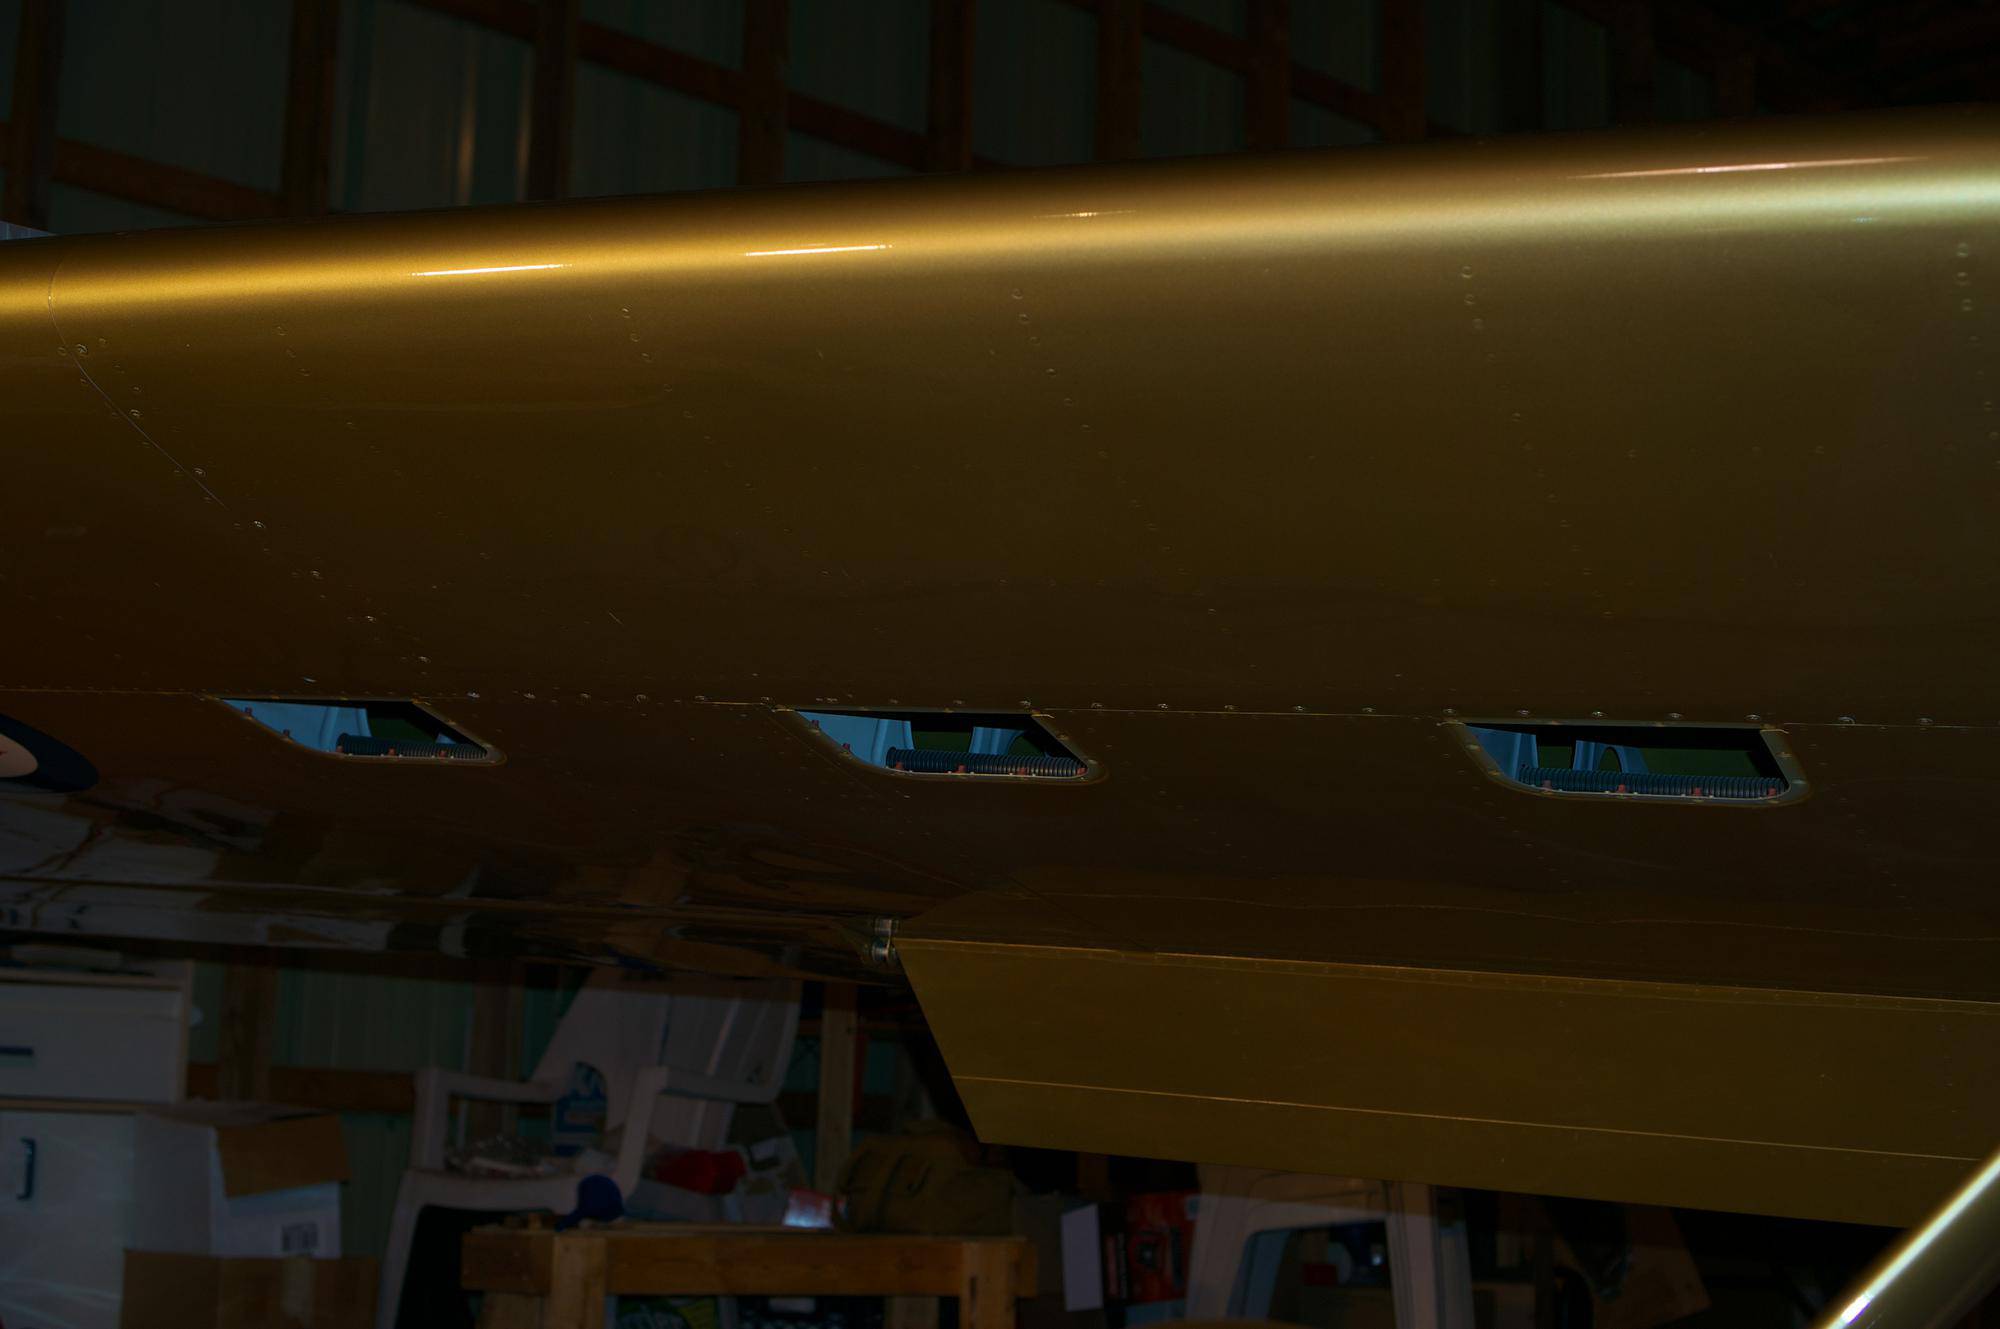 Step two was removing the bolts attaching the fuel tanks to the wing spar. The bolts are reached via three access panels on the bottom of the wing. It was a load of fun reaching some of those bolts, but that’ll be nothing as compared to what it will take to get them back in. I suspect I may have to disconnect the aileron pushrod to give more room to get my arm in.
 Step three was to remove all the screws around the periphery of the fuel tank. This proved to be a problem, as many of the Phillips screw heads on the upper wing surface were filled with clear coat from when the aircraft was painted. Try as I might, I could not get the screwdriver bit in deep enough to turn some of the screws, nor could I dig the clear coat out of the screw heads . I ended up drilling the heads off numerous screws, so now I’ll have the fun of extracting the remains of the screws from the nut plates, or removing and replacing the nut plates with new ones.
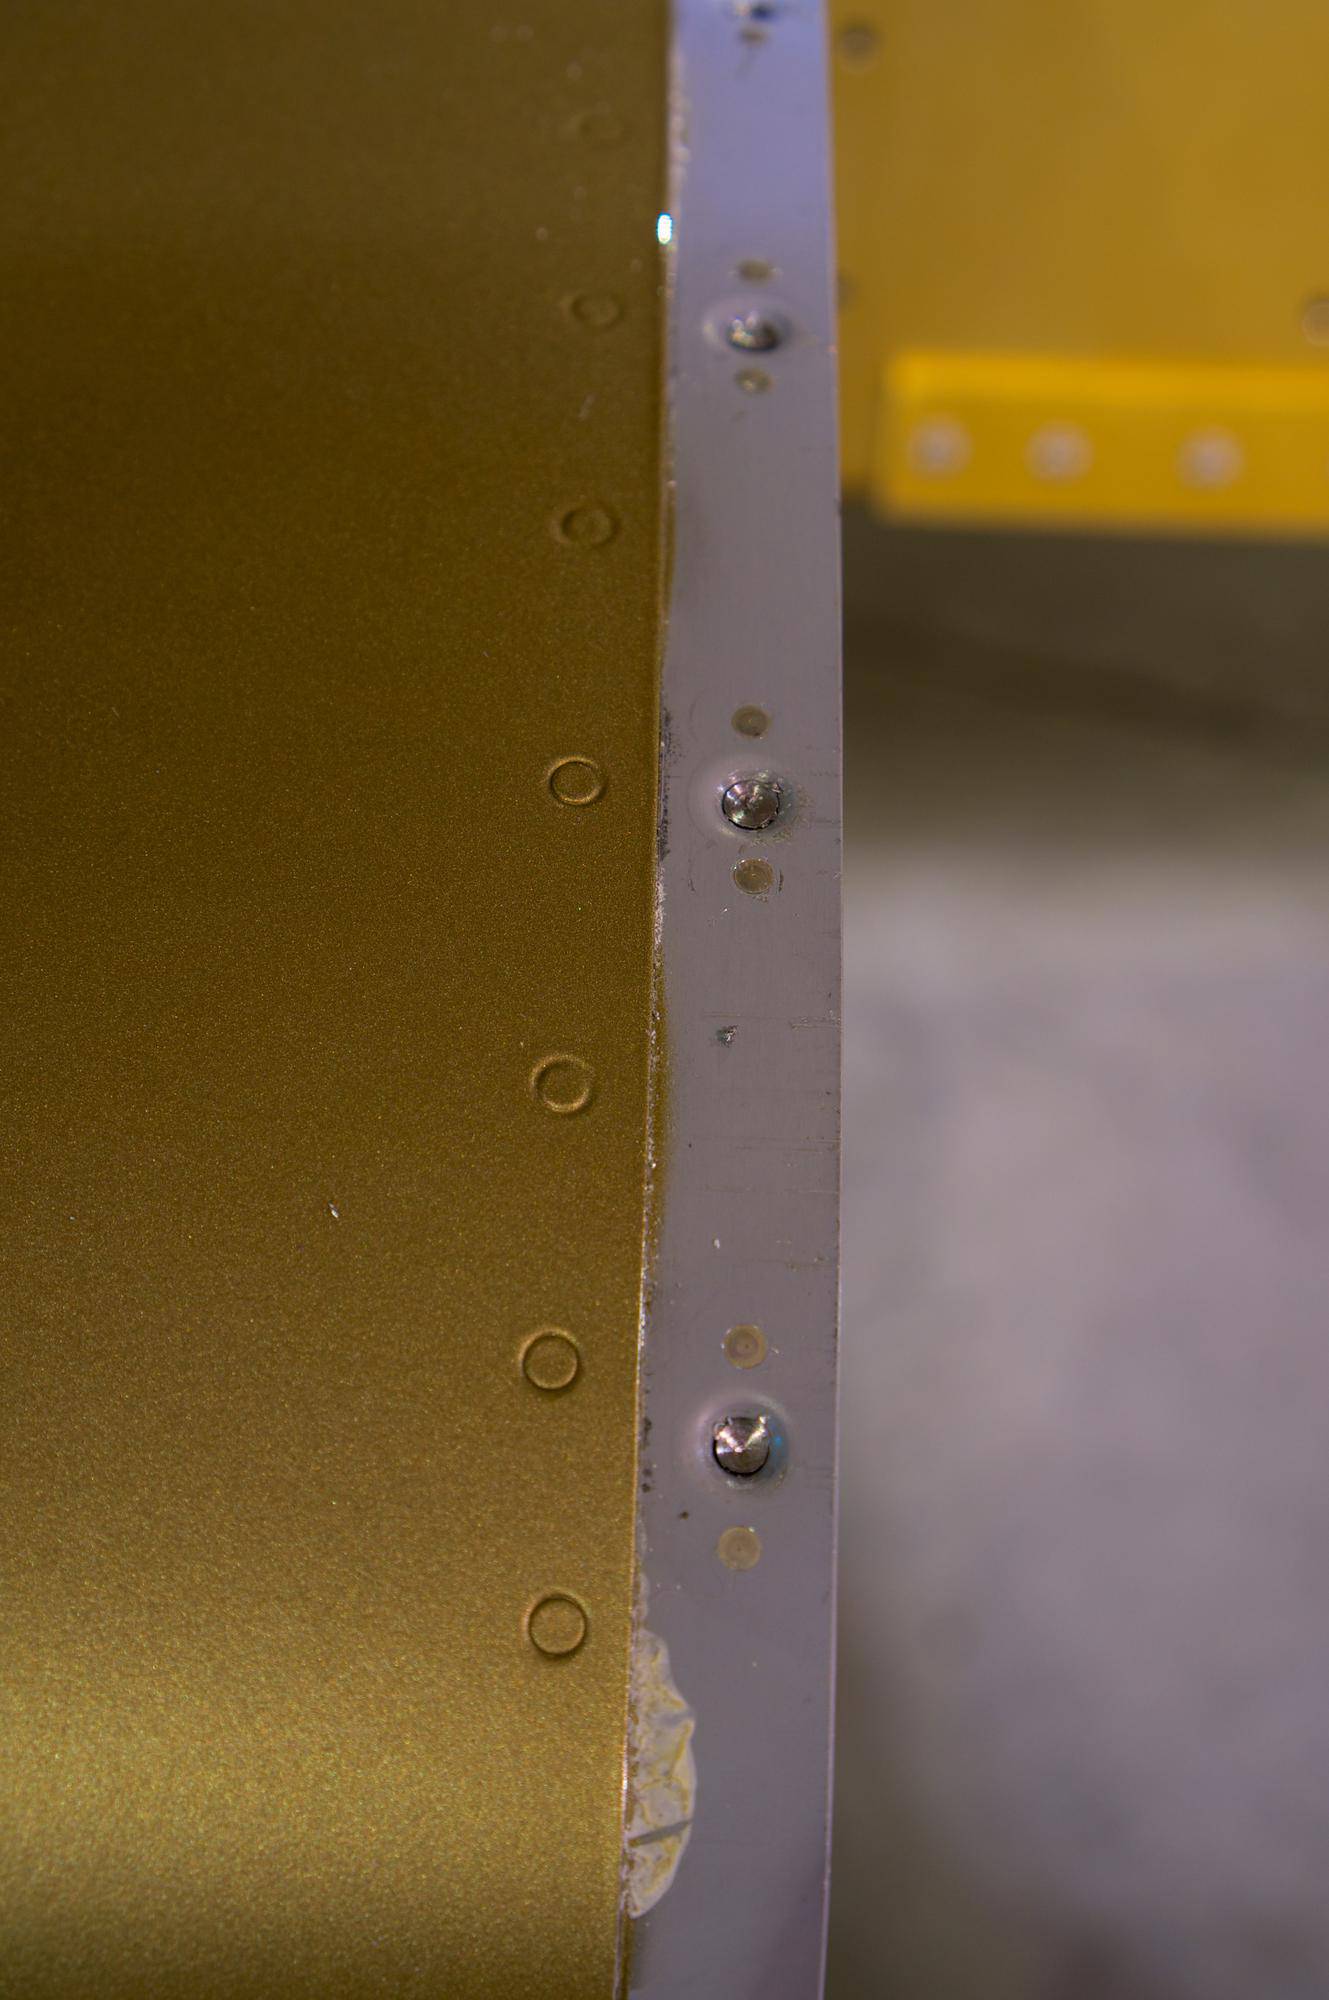
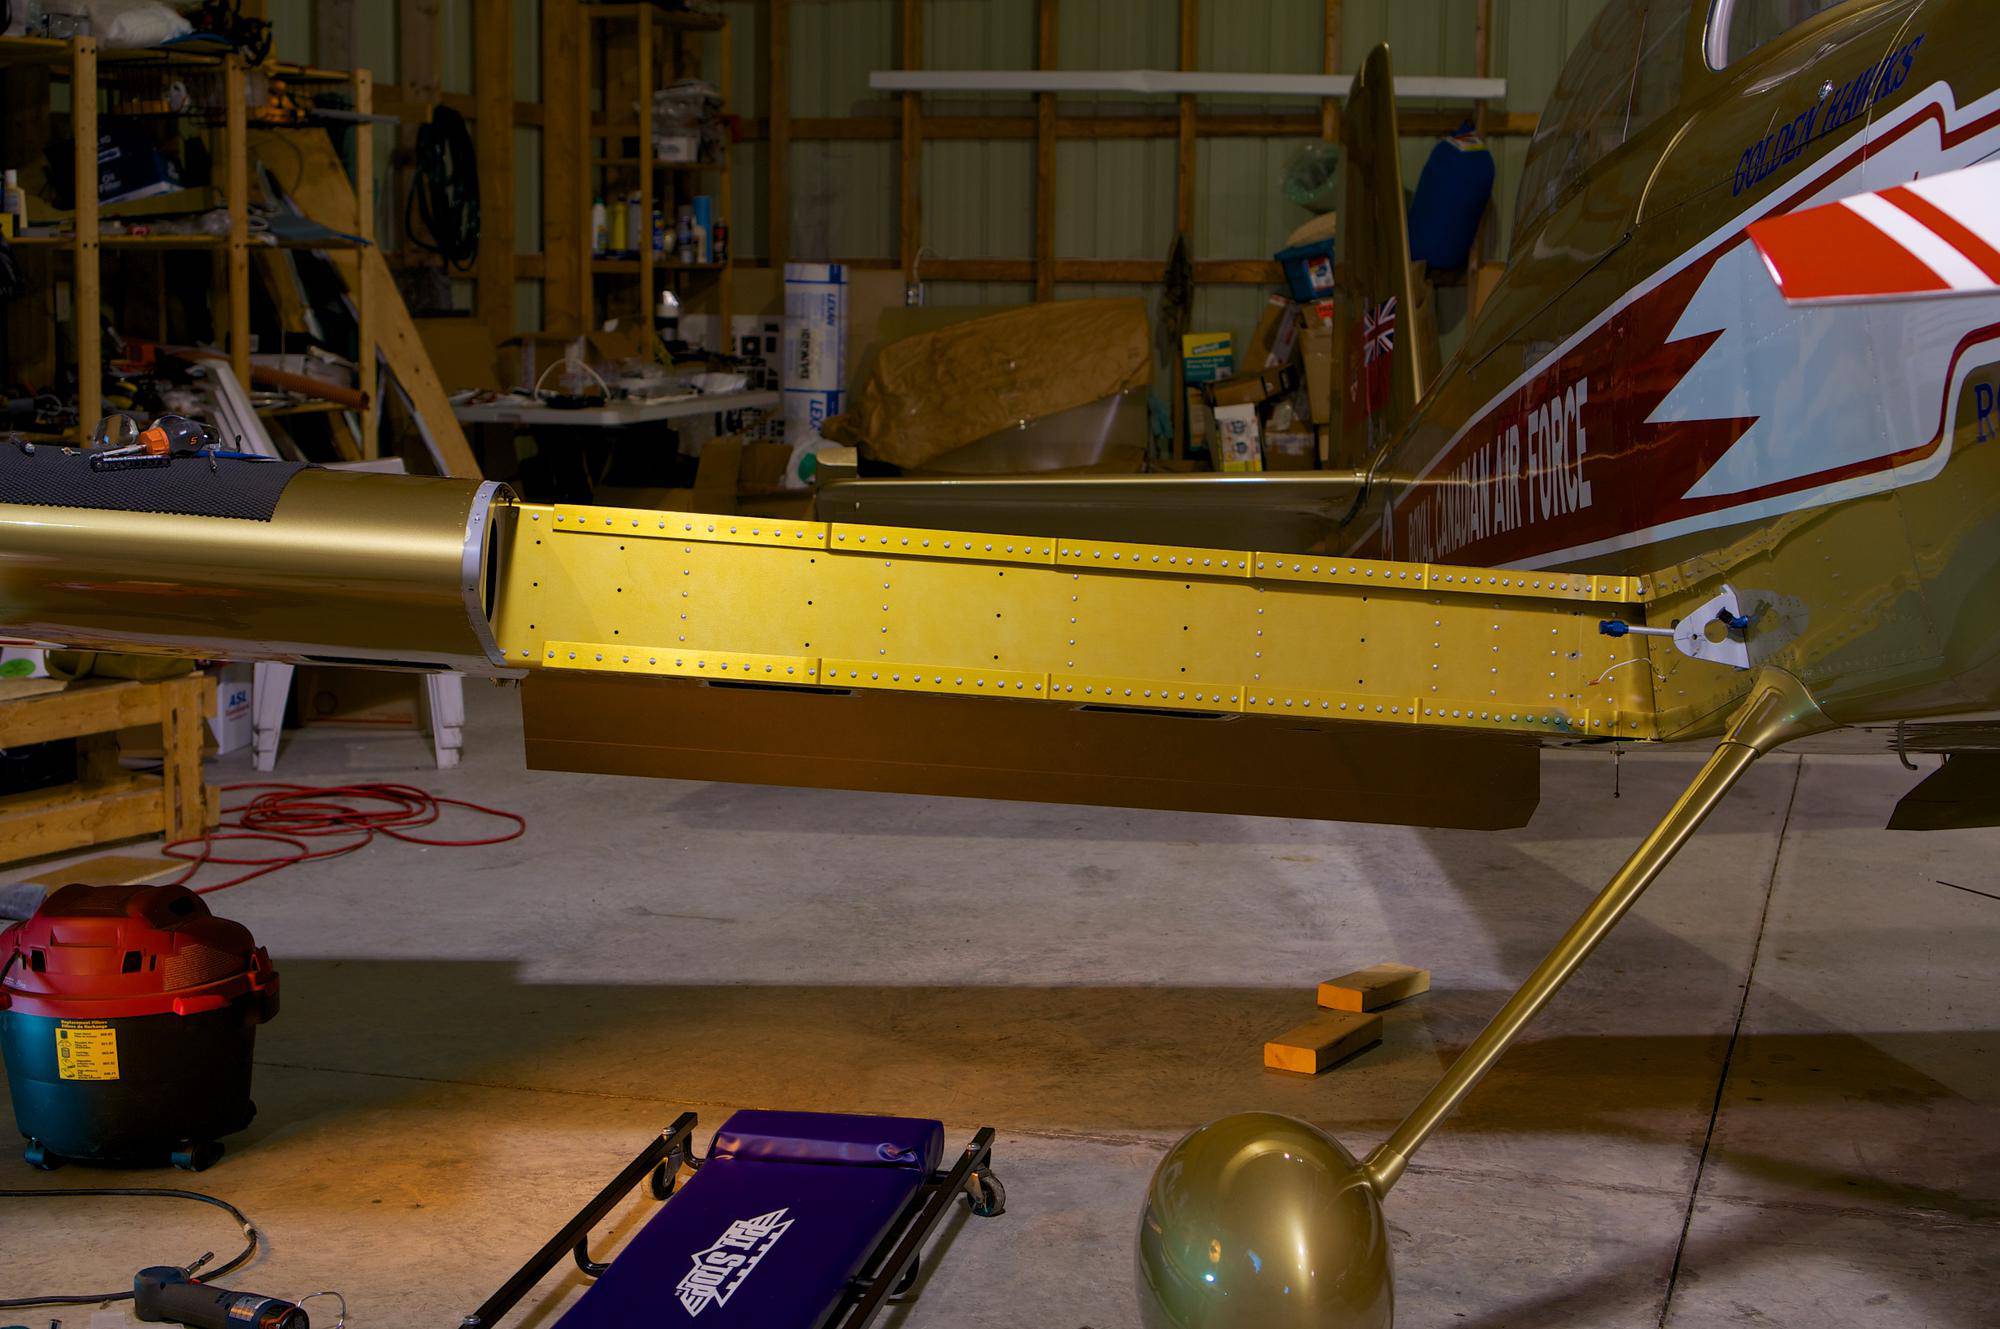 Here we are, after the fuel tank was removed. You can see blue fuel stain on the front of the wing spar, near the fuselage.
I got a lot of good advice on locating the source of the leak, and materials and techniques for completing the repair from other RV builders on the Van’s Airforce forums. I’ve got some more stuff on order, so it’ll be a few days before I can start the meat of the repair. I’ll use whatever warm days we might have to go to the hangar to attack the drilled off screws.