I dedicated three work sessions to the fuel tank leak repair over the last week.
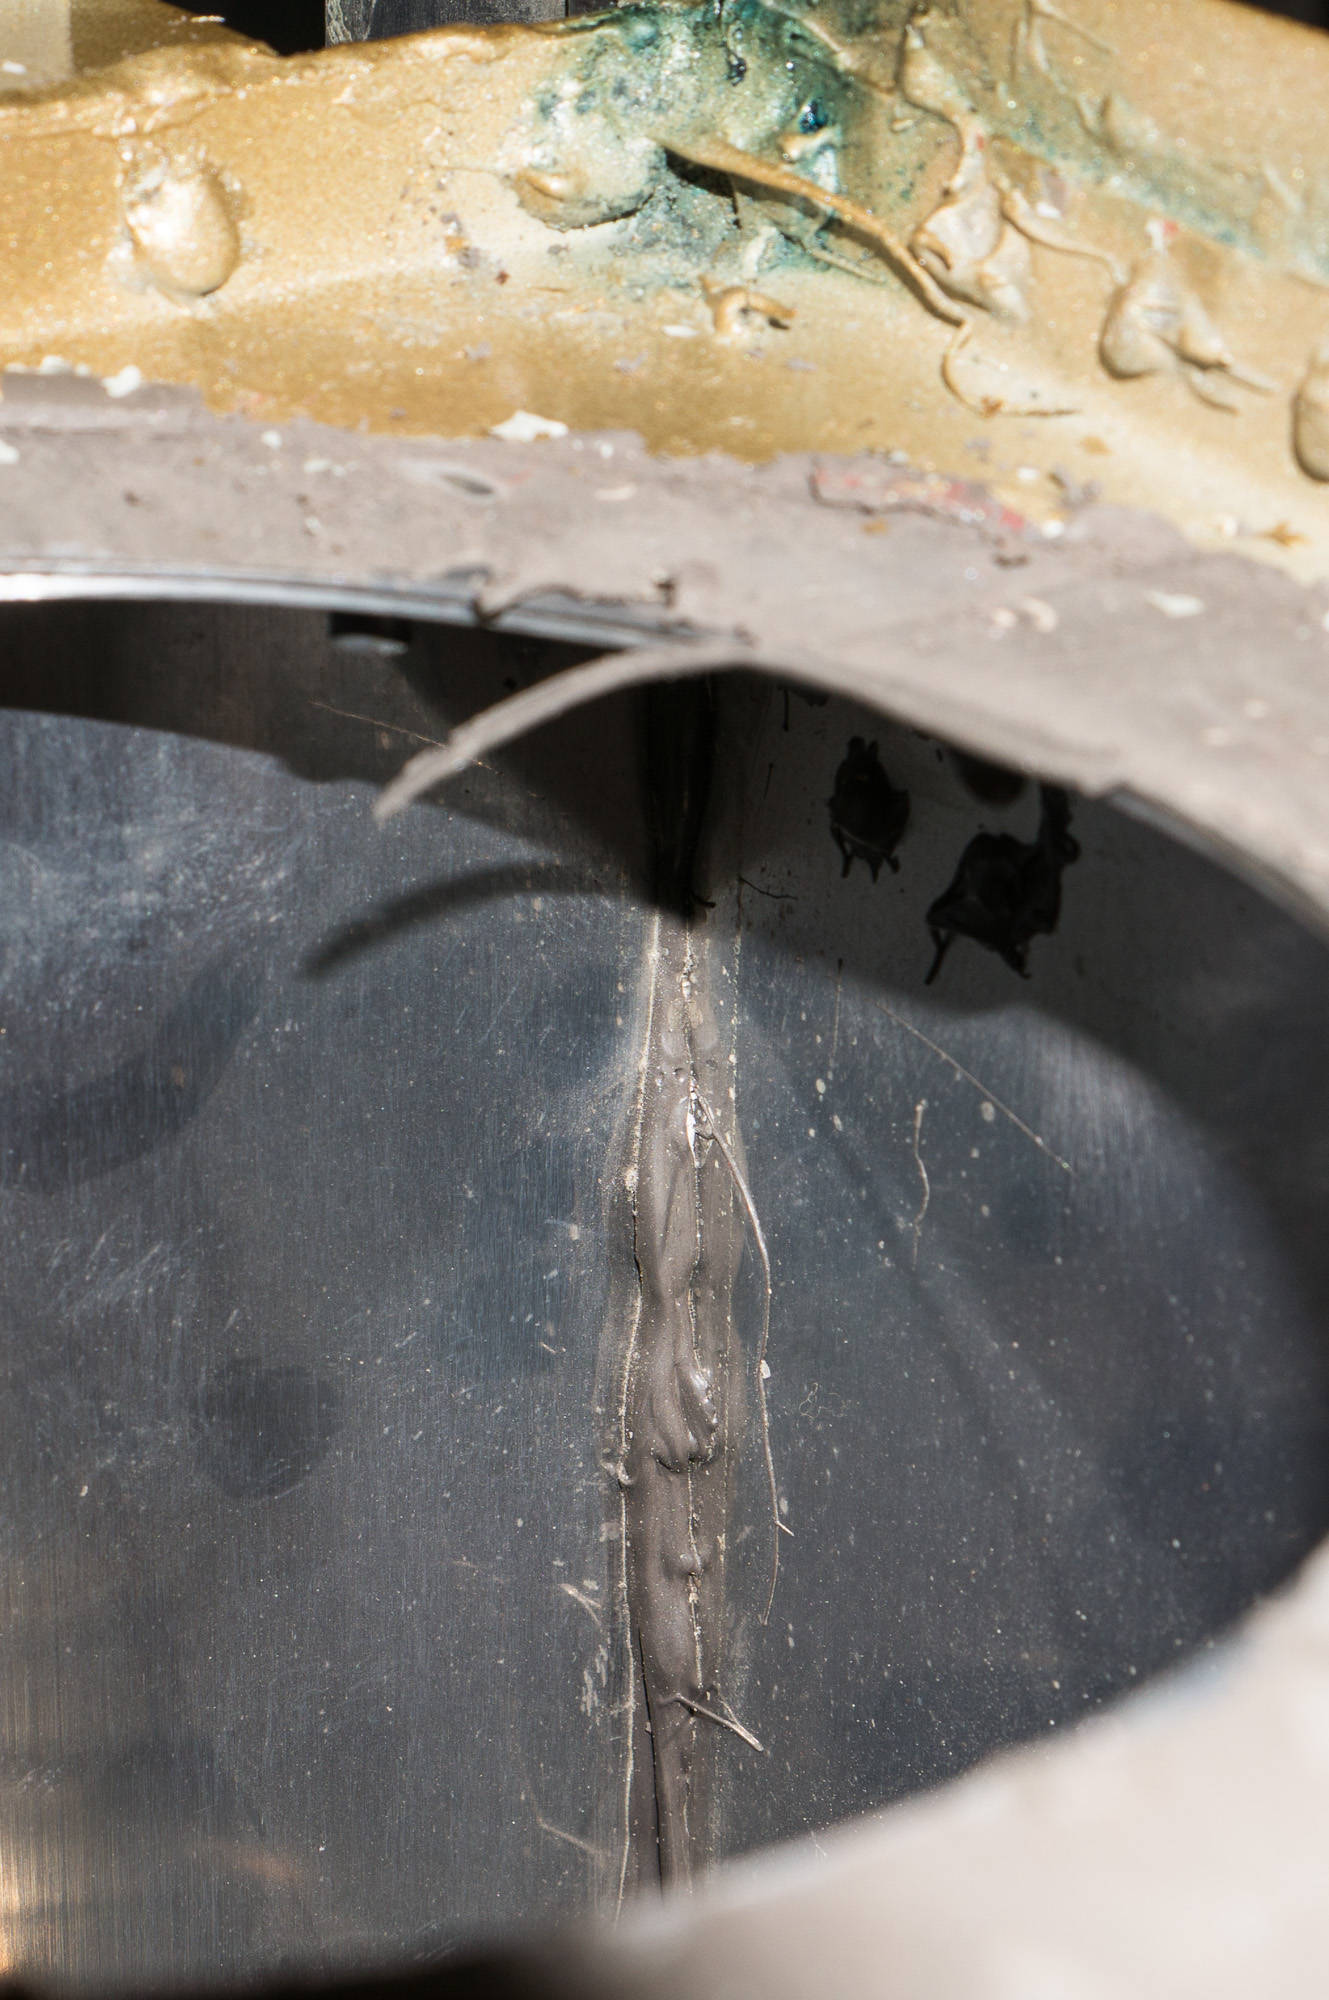
 The first task was to apply a small amount of air pressure and use some soapy water to confirm the leak location on the outside of the tank. I pretty quickly found what I was looking for.
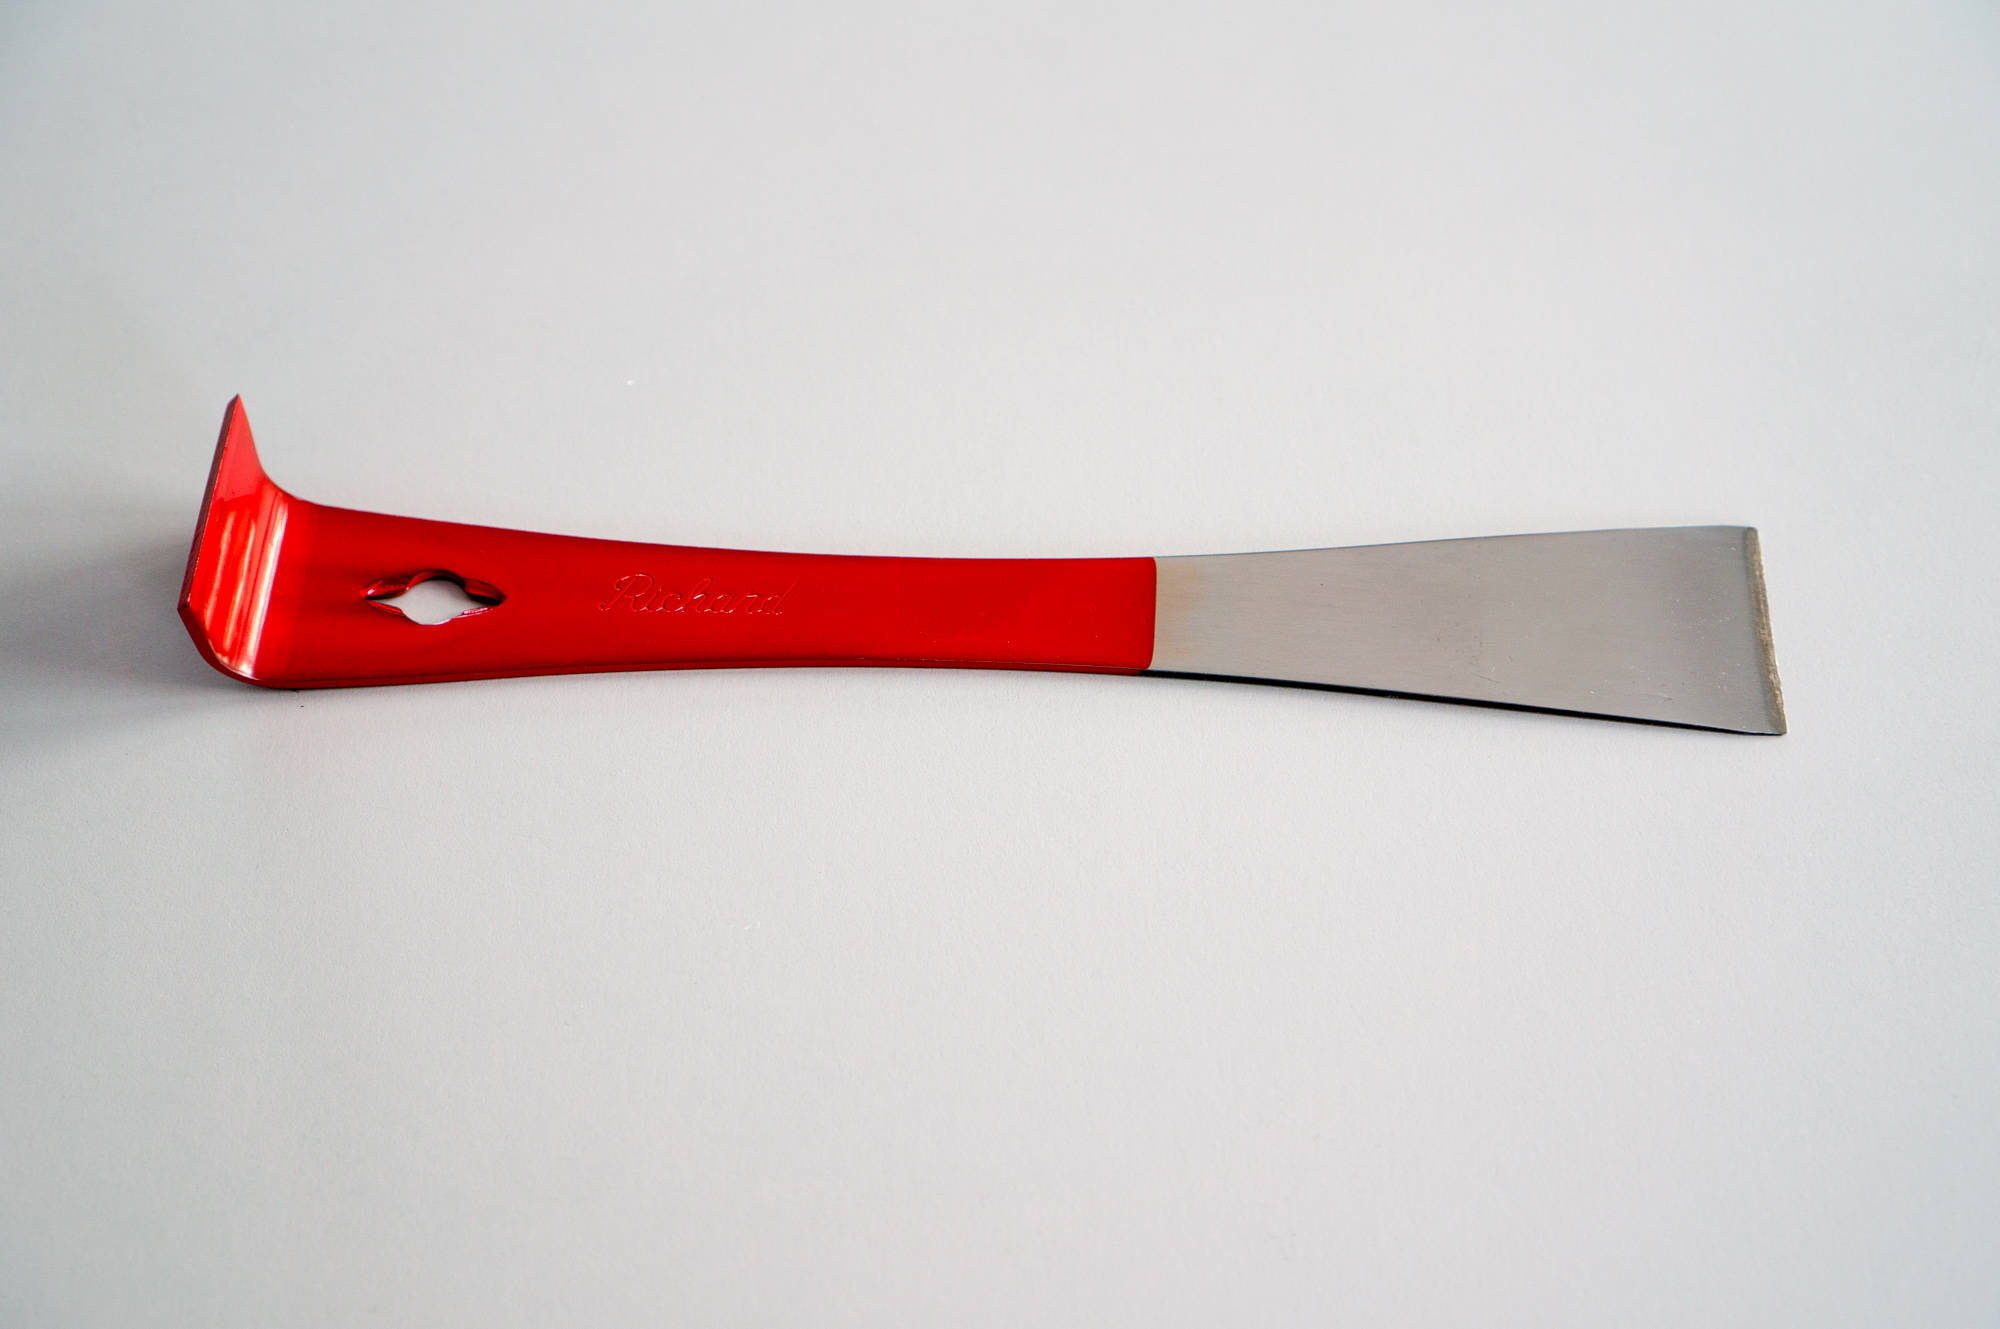
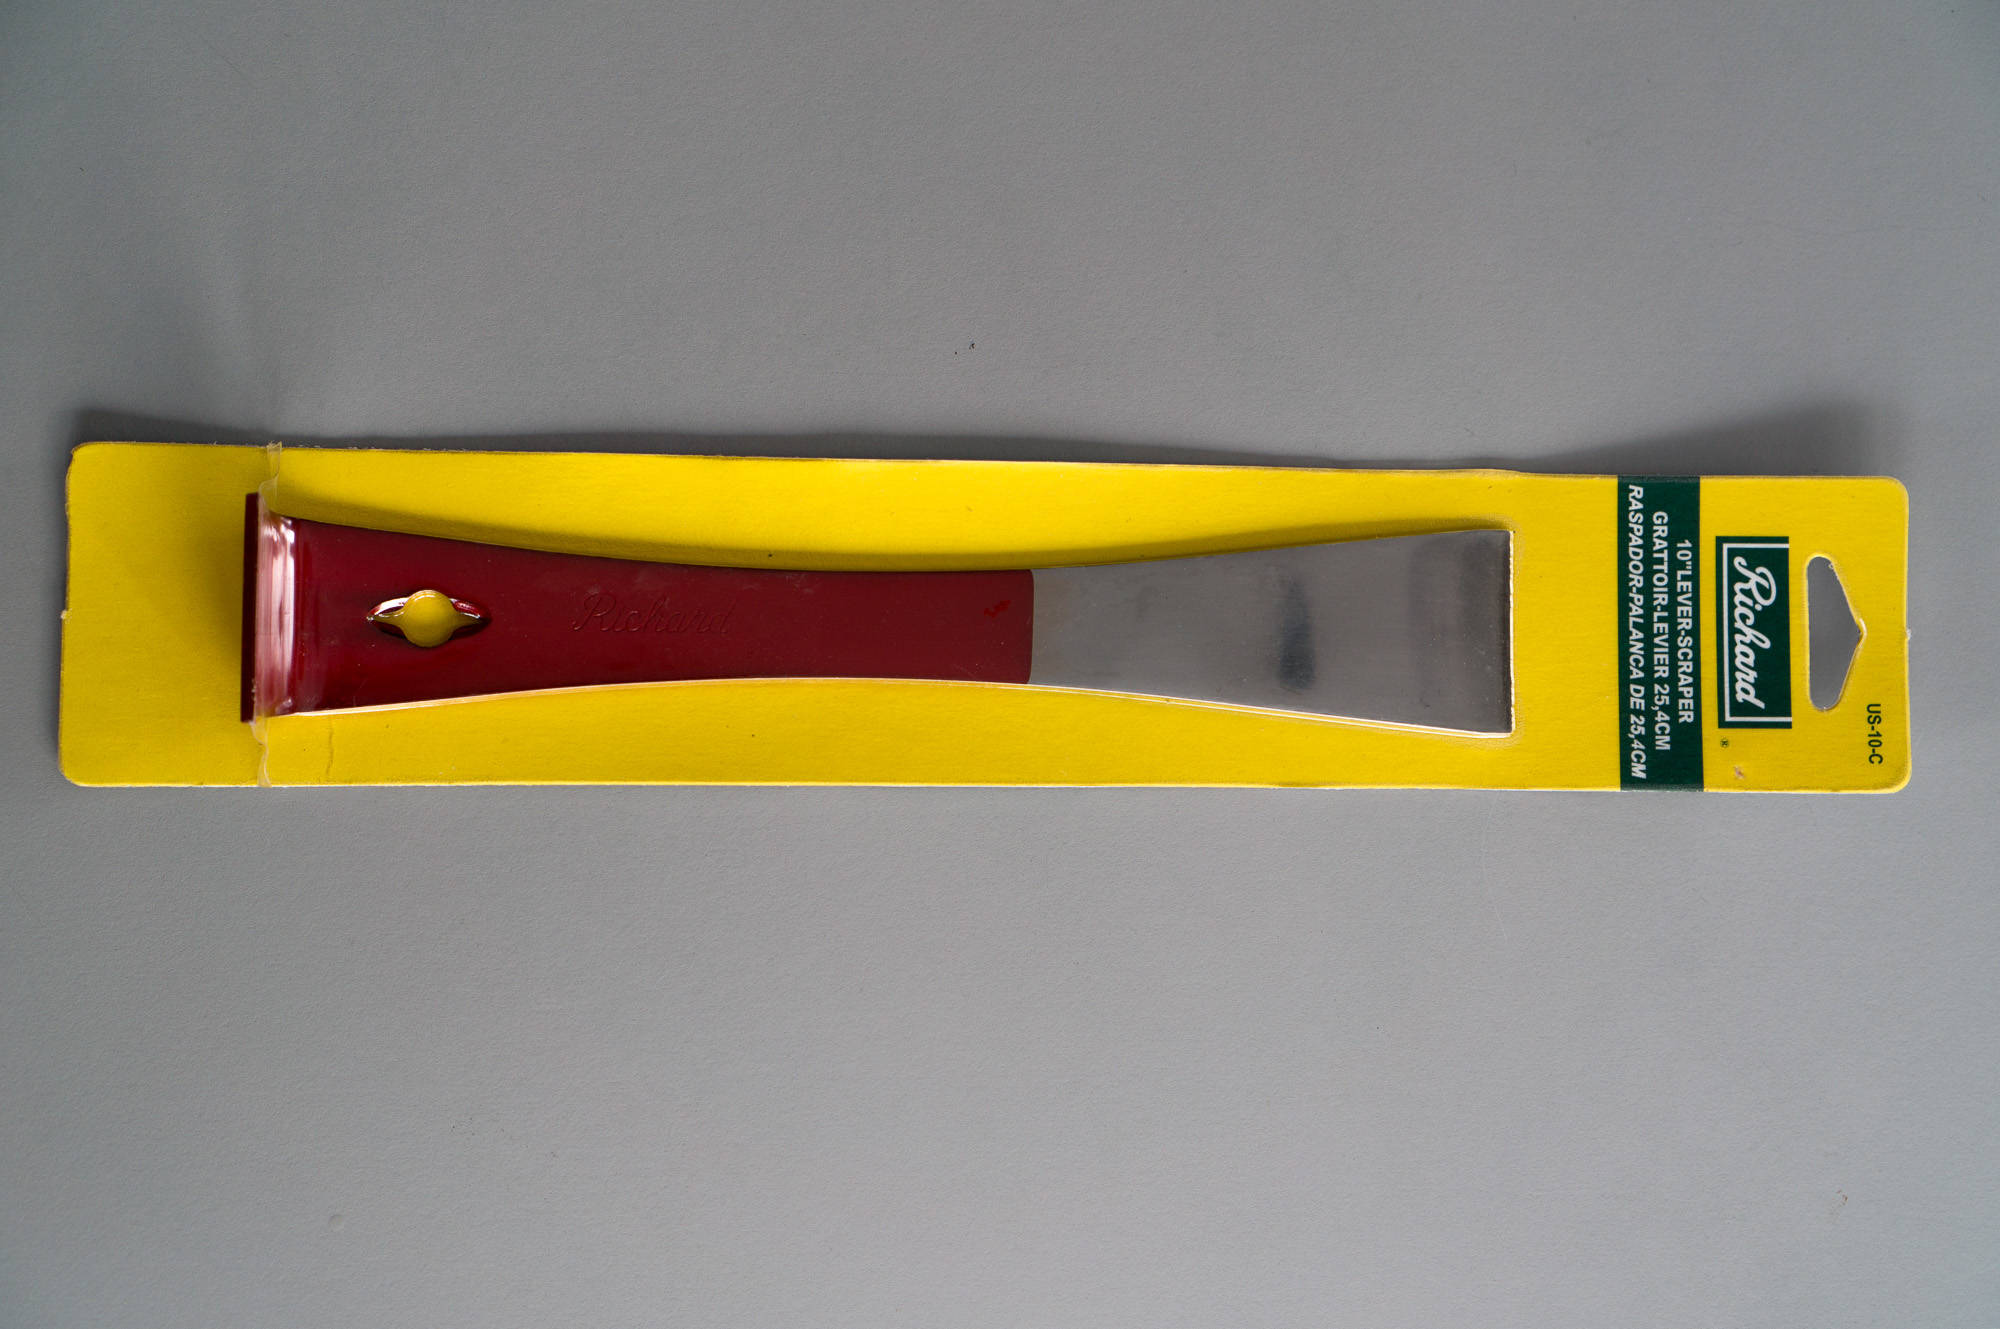 The next task was to remove the access cover on the inboard end of the tank. The access cover screws were easily removed, but the ProSeal sealant under the cover was very tenacious. I started with a sharp, thin putty knife. The flanges on the top, bottom and back only allowed me to use the putty knife from the front. I was able to slowly work it between the cover and the tank root rib, but the blade wasn’t long enough to reach all the way to the far side of the access cover. I went to Home Depot, and wandered the aisles until I found a 10" long scraper, which was the perfect tool for the job. It was long enough to reach all the way across the access cover, and I could use a hammer to tap on the other end to help things out.
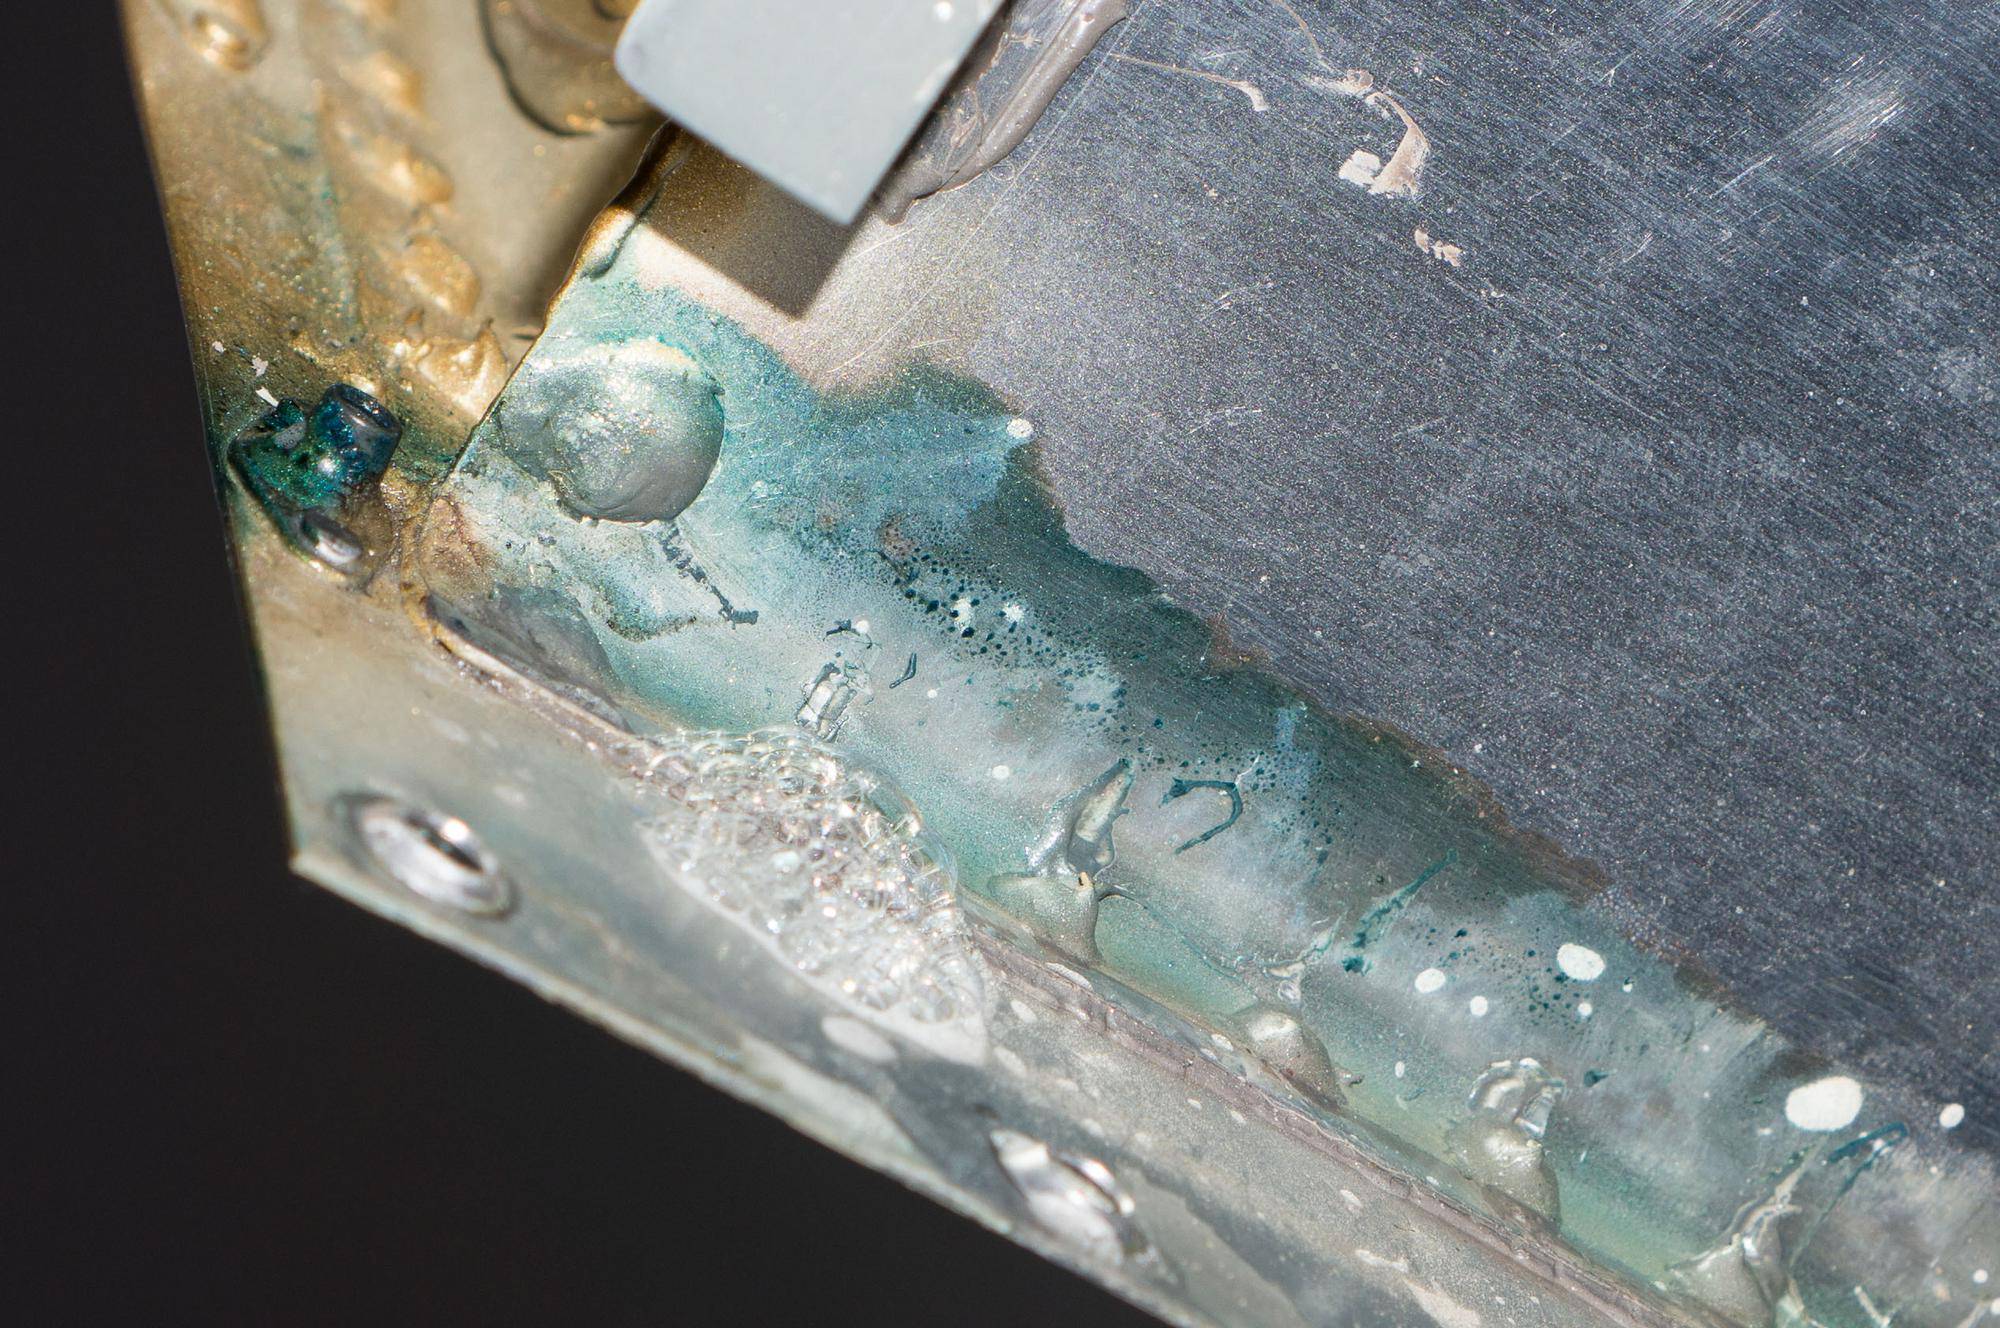
 After removing the access cover, I put some soapy water inside the tank, in the same area as the leak on the outside, then used an air nozzle to blow compressed air at the leak area on the outside. I tried soapy water all along that seam, but couldn’t get it to blow any bubbles, so I never confirmed the leak location inside.
Looking at the sealant on the same seam where the leak is outside, it was obvious that some areas had poor adhesion, with small gaps between sealant and aluminum. I made a chisel out of a piece of Lexan, and used it to scrape the sealant off all along that seam. The sealant came loose quite easily - perhaps there had been poor surface preparation when I riveted the back bulkhead on the tank originally.
 I cleaned the area of that seam with solvent, then roughed it up with a ScotchBrite pad, then cleaned it again. Then I applied FlameMaster CS 3204 sealant all along that seam (this stuff meets the same specification as the original ProSeal sealant I used when I assembled the tanks), and over the other seams in that bay. Then I put a bead of sealant under the access cover and secured it back in place.
Today, after four days of cure time, I did another leak check using air and soapy water. This time there were no bubbles at the original leak site. Hopefully this will have fixed it .
We’ve had a bit of a warm spell, which should continue tomorrow. I hope to get back to the airport late tomorrow to start putting the tank back on. I doubt I’ll get it finished, but it would be good to at least start.